
Note: the following article contains printed circuit boards (PCB) of my own design. I am not an electronics engineer. If you make this, it is your responsibility, I am not liable for anything you do, or any derivations of it. Don't be dumb. 100W of power is a lot. It is 1/8 of a toaster, and some soldering irons run off of less. You wouldn't lick a live incadescent lightbulb, treat this the same way.
As mentioned in the previous article on Sox, I ran into an issue trying to find a power delivery system that would charge a 3S (3 batteries in Series) battery bank. After searching for a long while, I ended up using a Constant Current/Constant Voltage (CC/CV) buck regulator to step my 20V input down to the 12.6V the batteries need, while also choking the input current to 3A. The only issue that remained was trying to get the CC/CV regulator to shut down after the batteries were full. As mentioned earlier, there was nothing available at the time to buy, so I had to make my own.
The image at the top shows the final outcome of that process. What it is is an Arduino nano being powered by a voltage regulator, executing a basic script to read the voltage current sensor on the output of the CC/CV regulator. The script switches on and off a mosfet on the ground wire, cutting power downstream to the CC/CV regulator. Code and images below
All can be downloaded from GitHub
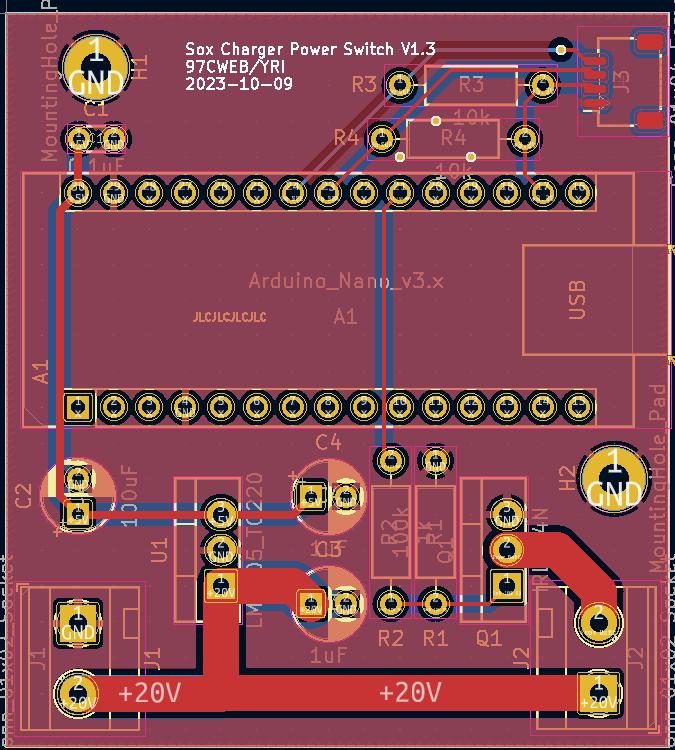
Front of PCB

Back of PCB
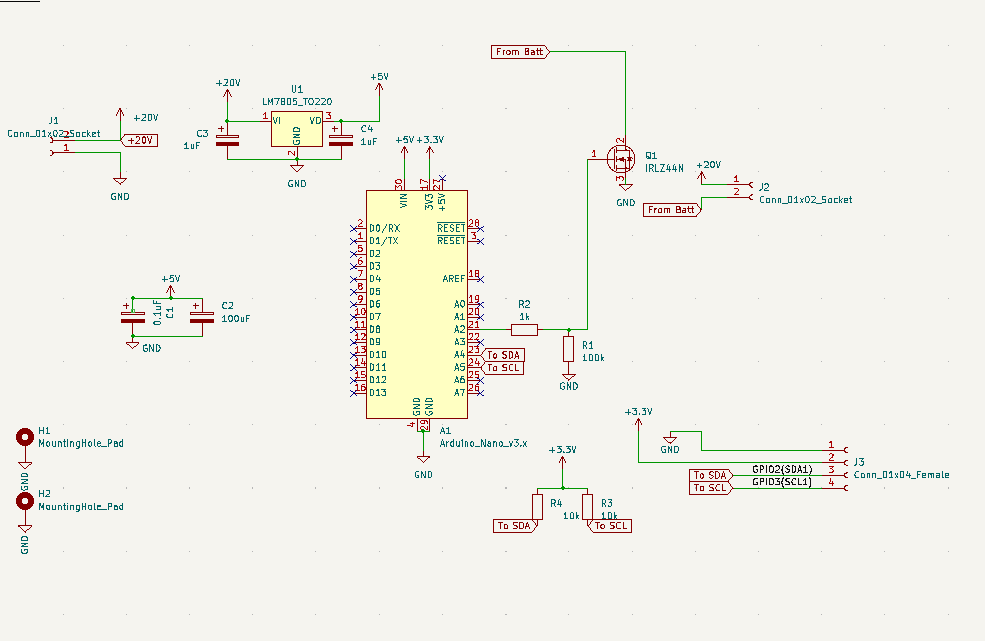
PCB Schematic
Comments
Log in to add a comment.