
I recently purchased a pair of Marshall Major V Wireless On-Ear Headphones, and have ran into some issues with them. They sound ok, but I find they get hot on the ears, they do not show battery status, and they fall asleep after an hour of inactivity, and take time to reconnect. Between the lack of battery status and falling asleep, I decided to try a set of "Hi-Fi" headphones. Now, usually this style of headphones have a price starting at $250 CAD and only go up from there, but I found these 3d printable ones on printables.com, and am trying to build them. I found the instructions on the site to be...lacking to say the least so I am writing this to help whomever wants to build a pair themselves.
To build these, you will need to print the following:
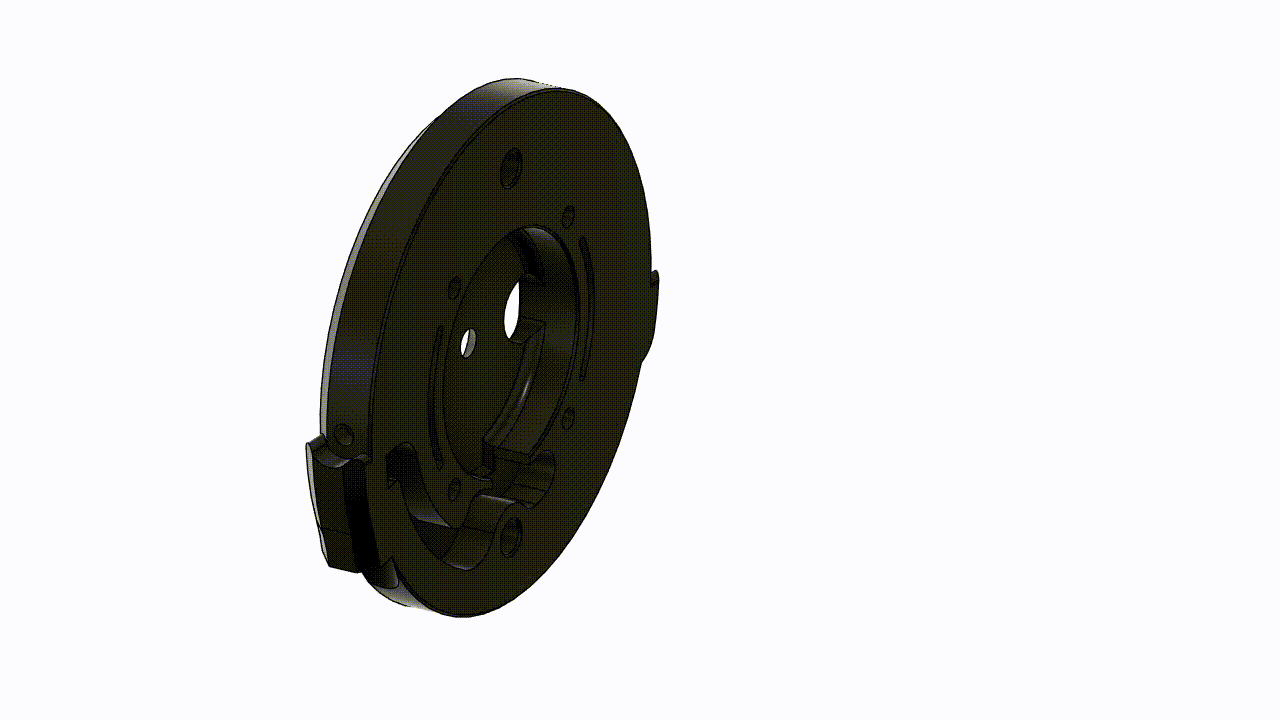
from the Satyr 3 page:
- 2x pad mount
- 2x fascia
- Yoke and mirrored yoke
- main housing and mirrored main housing
For the mirroring, In your slicer, just mirror the components. all of the above is to be printed in your favourite colours of any hard filament (petg, pla, etc)
From the Capra Headband page:
- 2x adjustment arm
- 2x body1
- Comfort Strap Capra Headband v3
- TPU band of your choice
For the comfort strap and the TPU band, they must be printed in a flexible filament (TPU). When opening the comfort strap, it will load directly as a 3mf file for the slicer, and contain 2 parts. Ensure they are 2 parts! Not one with sub parts. Once imported, set the comfort strap interior piece to have no top or bottom layers, and have infill be grid patterned.
You will need to purchase the following non 3d printable parts:
- Soulwit AD500x Pads
- Dekoni Attenuation Foam Kit
- 2x 3.5mm Panel Mount connectors OR 2x MiniXLR connectors (I used 3.5mm)
- 22 Gauge Flexible 2 Conductor Parallel Silicone Wire
- 50mm peerless drivers (digikey part HPD-50N25PR00-32-ND)
- 22x M3 Voron spec heat inserts
- 12x 8mm M3 screws with countersunk shape and flat head
- 10x 10mm M3 screws with countersunk shape and flat head
- 1x Hifiman Compatible audio cable
Once all these parts are collected, building can commence.
NOTE: Keep straight which ear cup is left and right! It matters for soldering if you use stereo cable.
First, cut the foam for the ear cups. Easiest is to cut using this template from printables as well.
Next, sink in the inserts into the pieces as shown in the gif from the creator, shown below. DON'T ASSEMBLE YET! Just insert the heat set inserts. Also add heat set inserts into body1 in all 3 holes.
Take a piece of cable, a little longer than the track between the jack insert location and the other end of the track. Strip it and solder it to the jack before inserting the jack. PAY ATTENTION TO WHICH TERMINAL YOU SOLDER TO! Otherwise you may solder left to right and vice versa. Remember that R ed R ight R ing, red is right channel and is the ring of the TRS connector (audio jack connector)
Fish the cable through the hole and insert the jack. Solder the speaker to the other end of the cable.
Place the foam into the hole of the ear cup, and then place the speaker. It will take force to insert, you may want to use a book or a metal can to evenly push it in without damaging it.
Screw on the fascia using 2 8mm screws
Screw on the speaker cover using 4 8mm screws
Screw on the yoke using 2 10mm screws.
Screw body1 onto the adjustment arm using 2 10mm screws.
Screw the yoke onto body1 using a 10mm screw. Ensure that the round side of Body1 is facing inwards!
Repeat with other ear cup
Slide the comfort strap onto the adjustment arms, ensuring that the arms are facing in to each other.
Slide the adjustment arms into the headband.
Plug in the cable into each ear cup.
You now have working headphones!
Comments
Log in to add a comment.